Mastering Realism
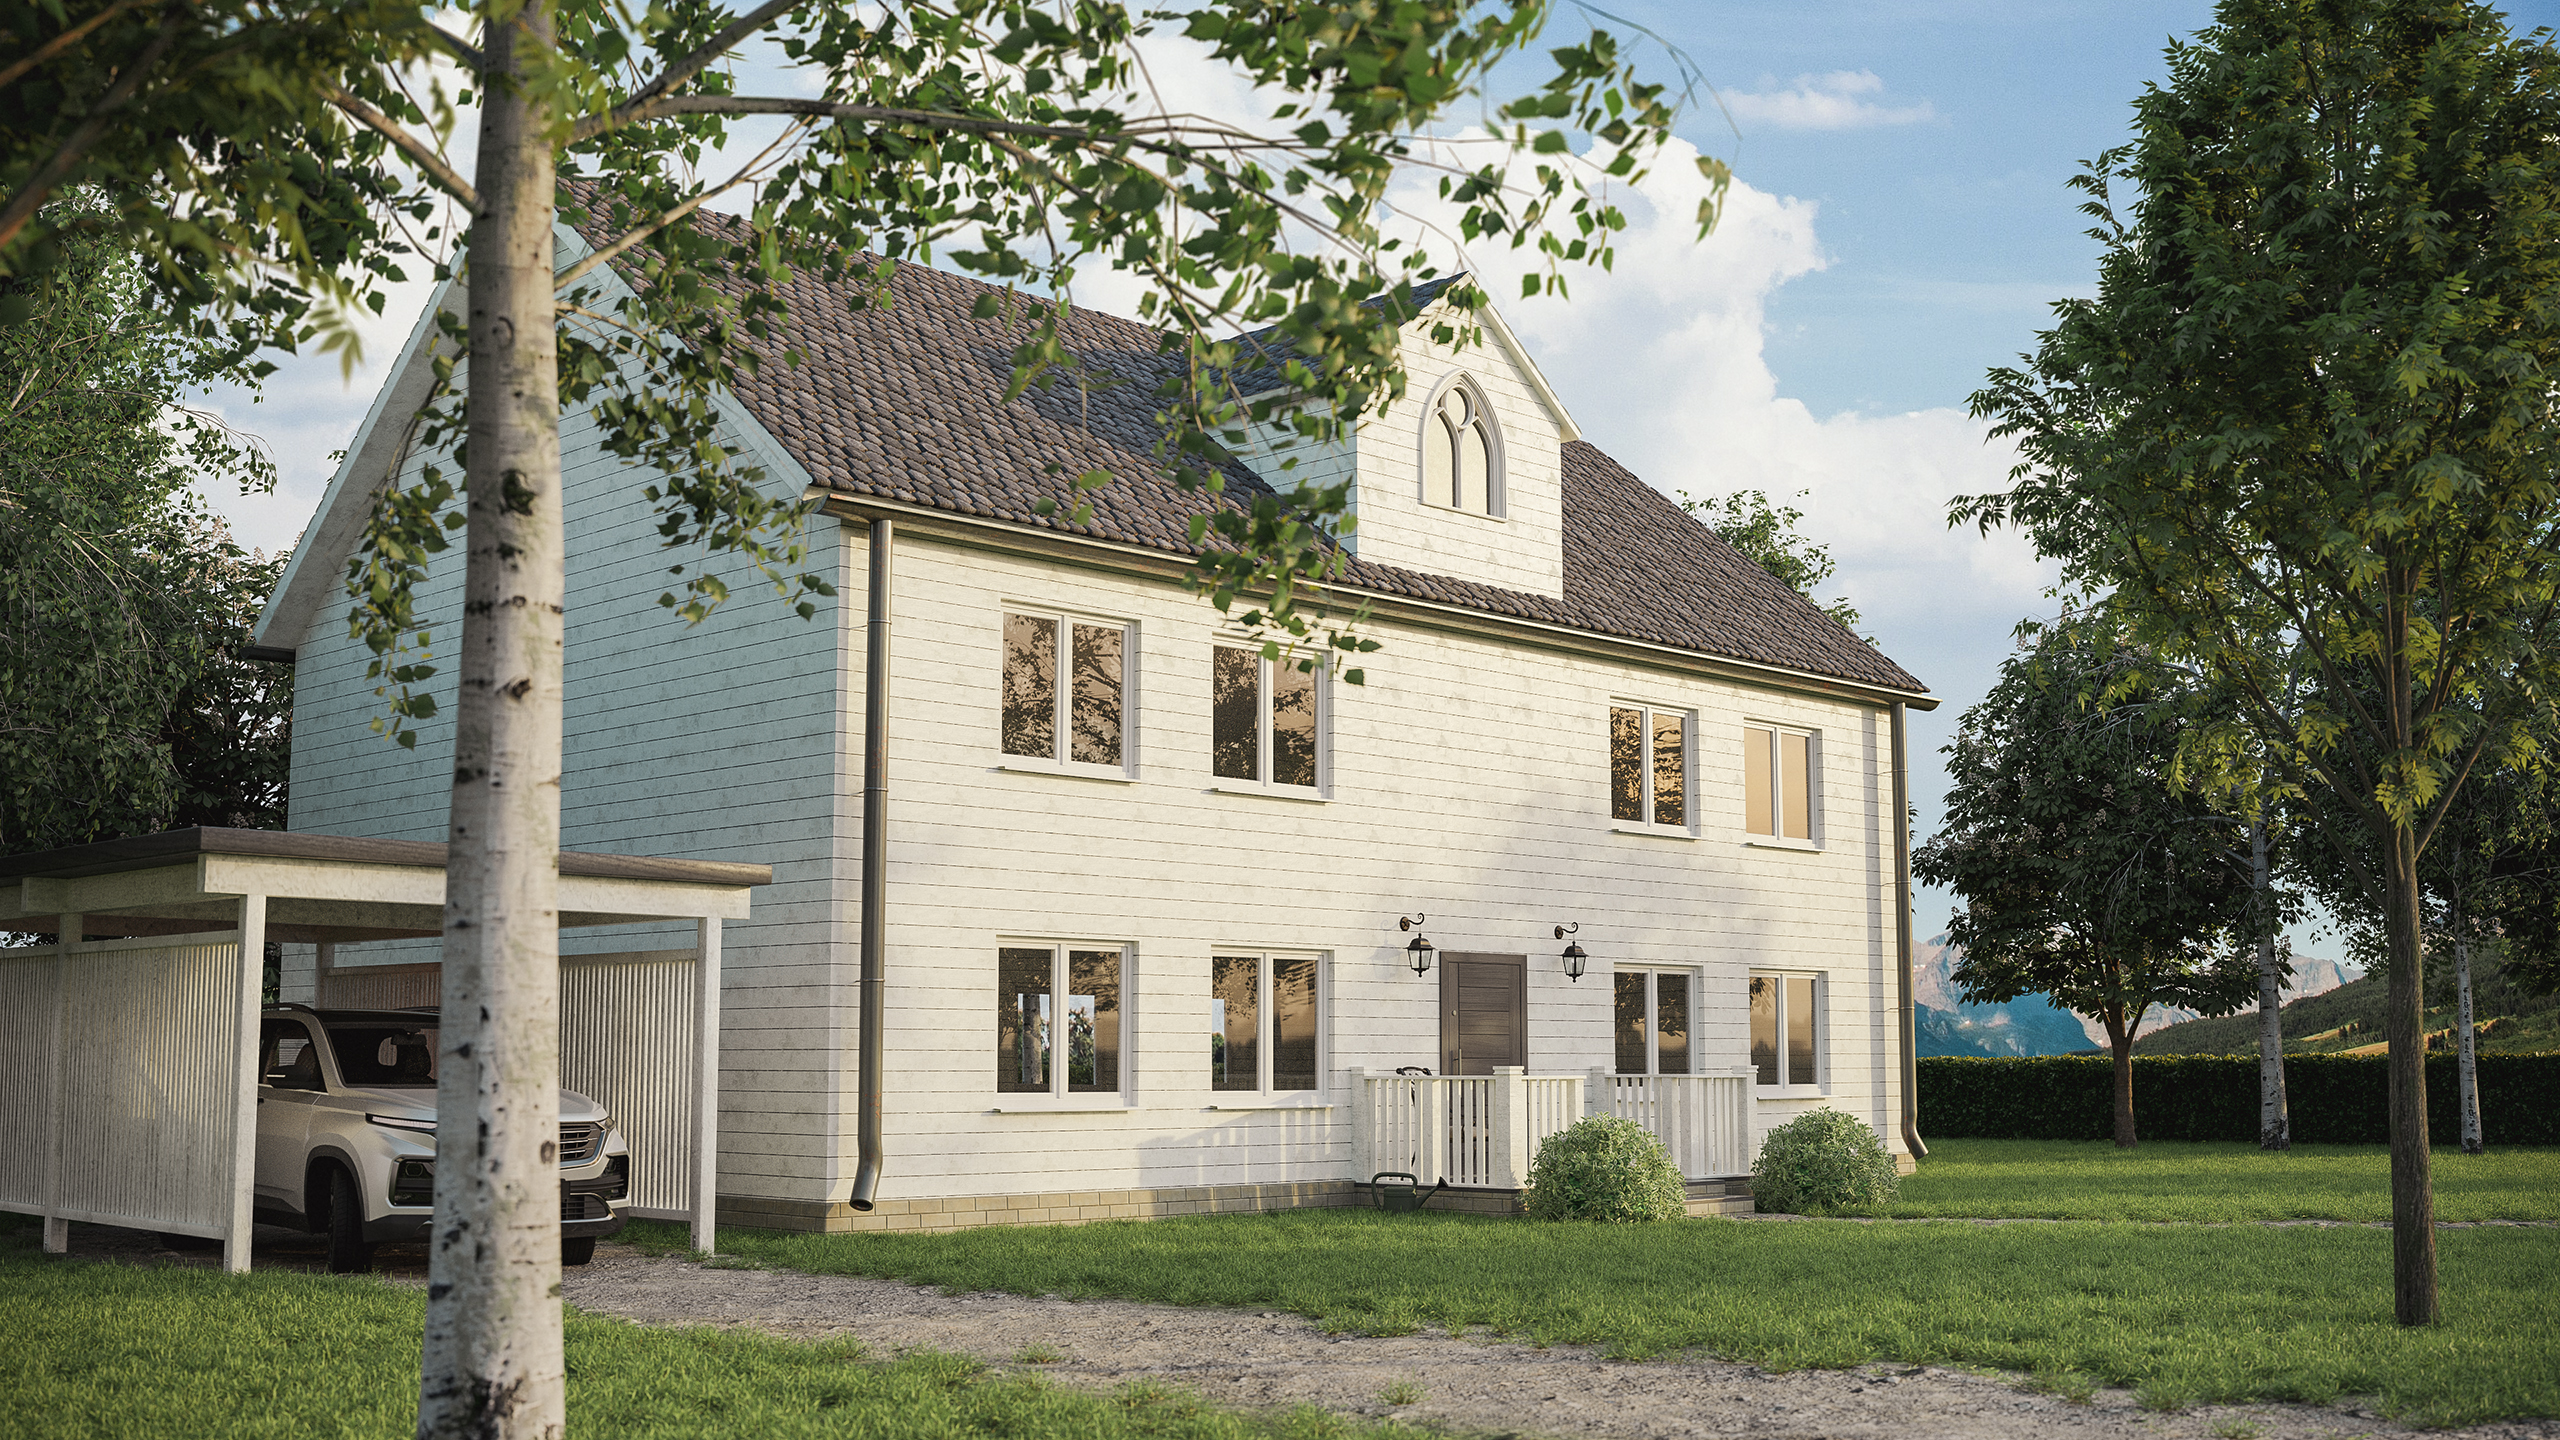
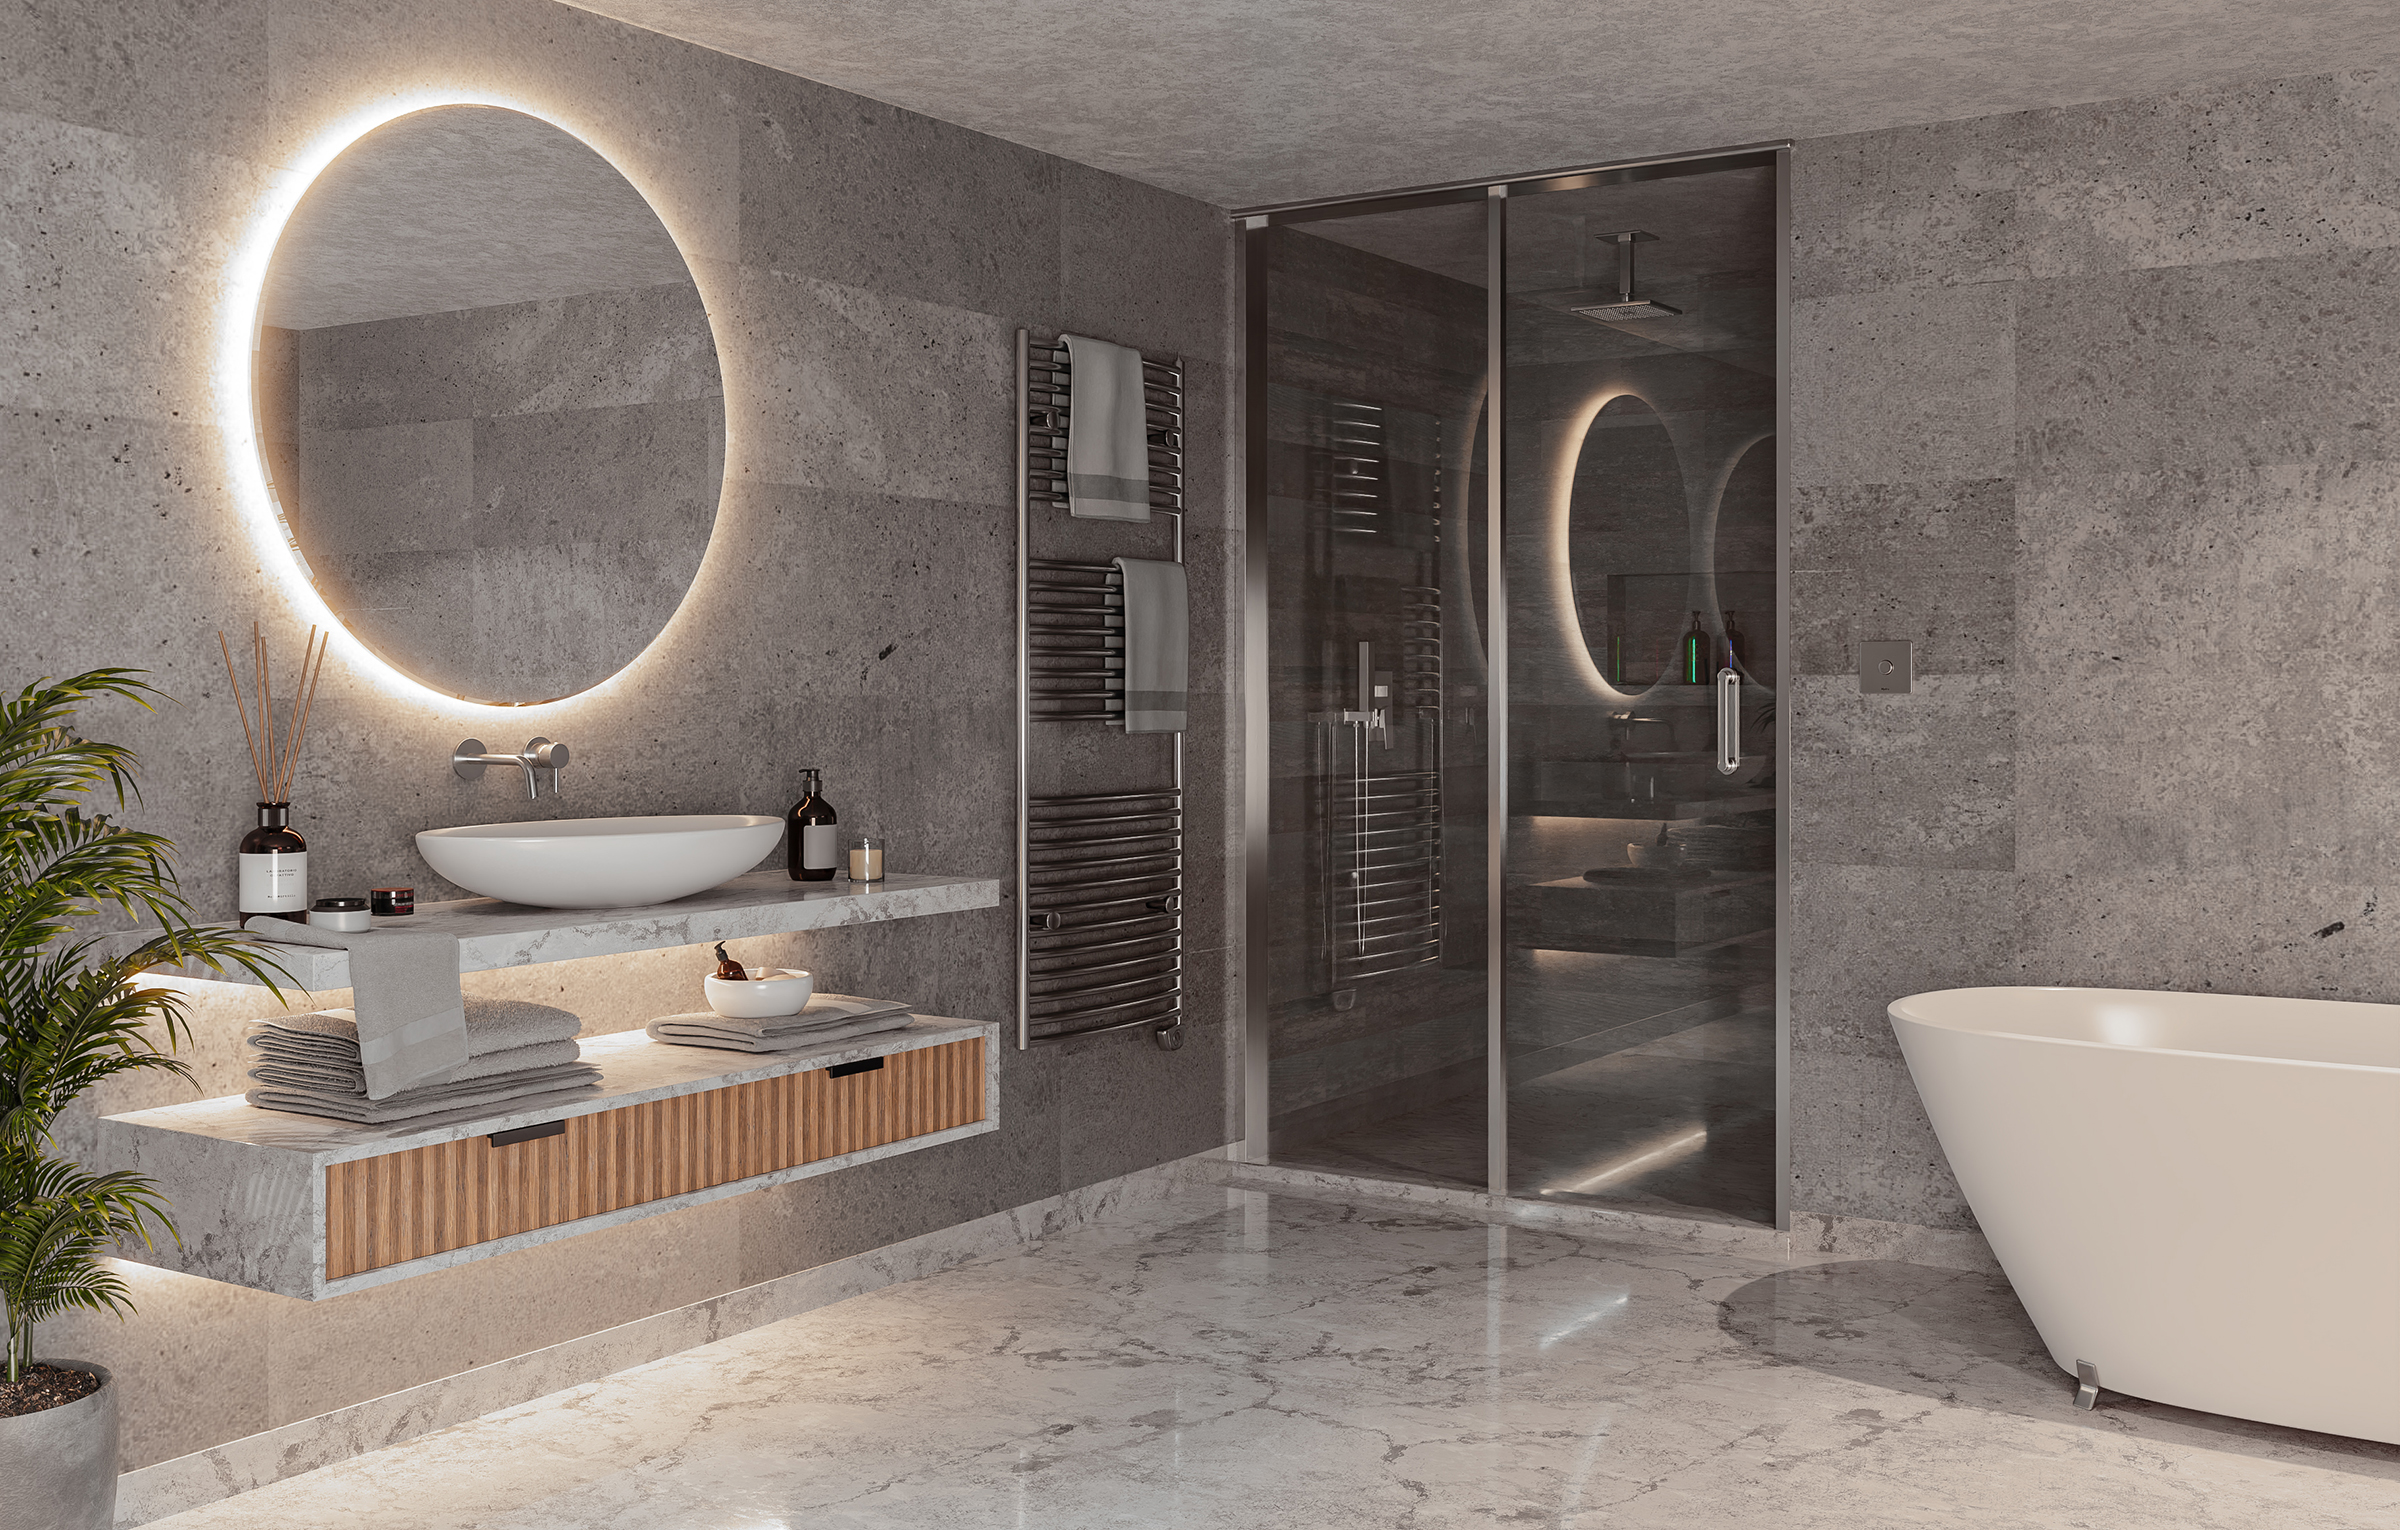
Architectural visualizations demand a high level of realism to effectively convey the design intent and ambiance of a space. In this post, we'll explore advanced techniques for achieving lifelike results in your architectural renders using Blender and Cycles. From leveraging HDRI lighting to refining camera angles and fine-tuning render settings, we'll cover everything you need to know to create captivating architectural visualizations.
HDRI Lighting
High Dynamic Range Imaging (HDRI) lighting is a powerful technique for achieving realistic lighting in architectural visualizations. Start by selecting high-quality HDRI maps that match the desired lighting conditions for your scene, such as daylight, sunset, or nighttime. In Blender, use the "Environment Texture" node to load the HDRI map into the world shader. Experiment with rotation and strength settings to adjust the direction and intensity of the lighting. Additionally, consider using multiple HDRI maps for added realism in different areas of your scene.
Camera Angles
Choosing the right camera angles is crucial for showcasing the key features and spatial qualities of your architectural design. Experiment with different camera positions, heights, and orientations to find the most visually appealing composition. Consider using wide-angle lenses to capture expansive views of interior spaces and narrow focal lengths to highlight intricate details. Pay attention to framing, perspective, and leading lines to guide the viewer's eye and create a sense of depth and immersion.

Render Settings
Optimizing render settings is essential for achieving high-quality results while minimizing render times. Start by adjusting the sampling rates to control the level of detail in your renders. Higher sampling rates produce smoother images but require longer render times. Experiment with adaptive sampling to allocate more samples to areas with greater noise. Increase the number of light bounces to accurately simulate indirect lighting effects, such as diffuse interreflection and color bleeding. Enable denoising options to reduce noise in your final renders without compromising detail.
Material Realism
Materials play a significant role in conveying the tactile qualities and visual aesthetics of architectural elements. Utilize Blender's node-based shader editor to create realistic materials by combining diffuse, glossy, and specular components. Pay attention to surface imperfections, such as scratches, fingerprints, and dust, to add authenticity to your materials. Experiment with procedural textures and displacement mapping to add depth and variation to surfaces. Consider using physically-based rendering (PBR) materials to accurately simulate the behavior of light on different material types, such as wood, metal, glass, and concrete.

Post-Processing
After rendering, enhance your architectural visualizations through post-processing techniques to refine color, contrast, and atmosphere. Use Blender's compositor to apply color grading, vignetting, lens distortion, and depth of field effects. Experiment with adding subtle lens flares, bloom, and glare to simulate camera artifacts and atmospheric phenomena. Consider integrating entourage elements, such as people, vegetation, and furnishings, to bring your architectural visualizations to life and add a sense of scale and liveliness to your scenes.
Final Words
By mastering advanced techniques such as HDRI lighting, camera angles, render settings, and material realism, you can elevate the quality of your architectural visualizations and create immersive and compelling renders that effectively communicate your design vision. With practice, experimentation, and attention to detail, you can achieve breathtaking realism in your architectural projects using Blender and Cycles.
